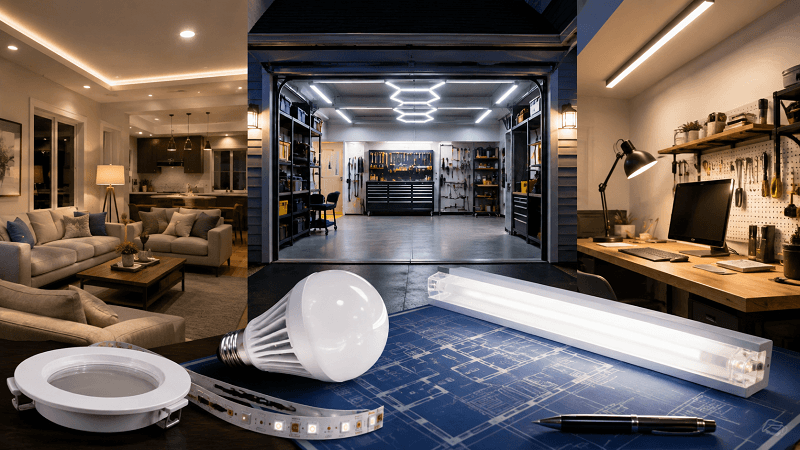
An LED upgrade can improve visibility, comfort, and operating costs, but the best results come from more than swapping old bulbs for the brightest products on the shelf. Whether the project involves a kitchen, garage, home office, or workshop, planning the right light levels and controls first helps prevent glare, shadows, and disappointing performance. Homeowners considering LED lighting retrofit and installation in Orange County, CA can start by identifying how each space is used and where current lighting falls short.
A practical plan considers the fixture location, the tasks performed in the room, the time of day the lights are used, and the electrical equipment already in place. It also separates lighting into three useful layers: ambient lighting for general visibility, task lighting for focused work, and accent lighting for features such as shelves, artwork, or cabinetry.
Why A Lighting Plan Matters
Lighting should support the room instead of overpowering it. One overly bright ceiling fixture may leave kitchen counters shadowed, create glare on a television, or make a workbench difficult to use. A room-by-room plan helps match light placement and output to cooking, reading, storage, cleaning, detailed repairs, and relaxation.
Start by noting dark corners, reflective surfaces, frequent bulb failures, and switches that are inconvenient to reach. Then decide where general lighting is enough and where a separate task light would make the space safer and easier to use. Dimmers can also help one room serve several purposes without requiring multiple fixtures to run at full brightness.
How LED Upgrades Can Reduce Energy Use
LED efficiency involves more than a low wattage number. Light output, fixture design, hours of operation, and controls all affect the final energy use. The Department of Energy explains that LED technology can deliver efficient, controllable light, particularly when fixtures direct light where it is actually needed.
High-use locations are often the strongest starting points. Kitchens, hallways, garages, laundry rooms, workshops, and exterior lights can add up quickly because they operate frequently. Estimate a fixture’s annual electricity cost with this formula:
Annual Energy Cost = Watts ÷ 1,000 × Hours Used × Electricity Rate
Compare the existing fixture with the proposed LED option, then account for expected installation costs and maintenance needs. Savings vary with local utility rates, usage patterns, and whether the upgrade also adds sensors or dimming.
Match The Light To Each Room
Kitchen And Bathroom
Kitchens benefit from layered lighting. Use ceiling fixtures for general light, then add under-cabinet or focused task lights to reduce shadows over counters and sinks. Bathrooms need balanced vanity lighting near mirrors to avoid harsh facial shadows. Choose fixtures rated for damp locations where moisture is expected.
Garage Or Workshop
Garages and workspaces need even coverage across floors, shelves, and benches. Linear shop lights or high-output ceiling fixtures can reduce dark zones. Brighter, cooler light is often useful for repairs, painting, measuring, and tool work, especially when paired with focused lighting at the bench.
Living Room And Bedroom
Living rooms and bedrooms generally feel more comfortable with warm, low-glare lighting. Rather than relying only on a central ceiling fixture, combine table lamps, floor lamps, wall fixtures, and dimmers. Keep bright fixtures out of direct sightlines from beds, sofas, and televisions.
Choose Bulbs, Retrofit Kits, Or New Fixtures
There are three main upgrade paths:
- Replacement LED bulbs work well when the socket, fixture rating, enclosure, and dimmer are compatible.
- Retrofit kits can preserve a usable recessed housing or fixture while improving output and appearance.
- New LED fixtures may be the better choice when a fixture is damaged, outdated, poorly located, or difficult to maintain.
Fluorescent fixtures deserve extra attention because they may use ballasts. The correct LED replacement depends on the lamp type, wiring method, ballast condition, and product instructions. Compare total value, including service life, warranty, light quality, maintenance access, and installation requirements, not simply the purchase price.
Select Brightness, Color Temperature, And CRI
Lumens measure light output, while watts measure energy use. When comparing products, choose the lumen level needed for the task, then seek an efficient option. Brightness is measured in lumens rather than watts, which makes it easier to compare modern LEDs with older incandescent bulbs.
- 2700K to 3000K: Warm light for bedrooms, living rooms, and dining spaces.
- 3000K to 4000K: Balanced light for kitchens, bathrooms, offices, and multipurpose rooms.
- 4000K to 5000K: Crisp light for garages, utility rooms, and detailed work.
Color rendering index, or CRI, describes how naturally colors appear under a light source. Higher-CRI products can be especially helpful in kitchens, bathrooms, craft areas, studios, and places where paint, fabric, food, or skin tones need to look accurate. Avoid mixing several color temperatures in one open area unless the contrast is intentional.
Add Useful Lighting Controls
Dimmers allow a room to shift from bright activity lighting to a softer evening setting. Occupancy sensors are useful in closets, garages, laundry rooms, restrooms, and storage areas where lights are often left on. Daylight sensors can reduce unnecessary lighting near windows, while smart controls can offer schedules, scenes, remote operation, and voice commands.
Before buying controls, confirm LED and dimmer compatibility. Check whether a smart switch needs a neutral wire, whether its load rating suits the fixture, and whether the LED has a stated minimum dimming level.
Check Compatibility And Safety
Review fixture labels for socket type, voltage, location rating, and maximum wattage. LEDs used in enclosed fixtures should be approved for enclosed use because trapped heat can reduce performance and lifespan. Do not mix incompatible lamps, ballasts, drivers, dimmers, or control systems.
Turn off the power before opening a fixture or working with fixed wiring. A qualified electrical professional is the safer choice for ballast bypasses, new circuits, high ceilings, damaged wiring, or uncertain connections. Flickering, buzzing, burning smells, discoloration, excess heat, or repeated breaker trips need prompt attention.
Build A Realistic Budget
Include product costs, labor, controls, disposal, permits, access equipment, and possible wiring repairs. Prioritize lights that operate the most, create poor visibility, fail often, or are difficult to reach. A simple bulb replacement can be inexpensive, while a conversion or redesigned lighting layout requires a larger investment but may improve long-term performance and maintenance.
Follow A Simple Upgrade Process
- List problem areas, including shadows, glare, flicker, and poor color quality.
- Record existing fixtures, bulbs, controls, wattages, and approximate operating hours.
- Set a goal for each area, such as better task visibility, lower energy use, or easier maintenance.
- Select lumens, color temperature, CRI, beam spread, and glare control.
- Confirm compatibility before installation, then test brightness, dimming, shadows, and switch response.
A well-planned LED upgrade makes each room more useful, not merely brighter. By matching the fixture to the task, using controls wisely, and addressing electrical compatibility before installation, homeowners can create lighting that performs better for years to come.